Tuesday, April 17, 2012

Last Dinner on the Titanic GBACG -- Oh What a Party!

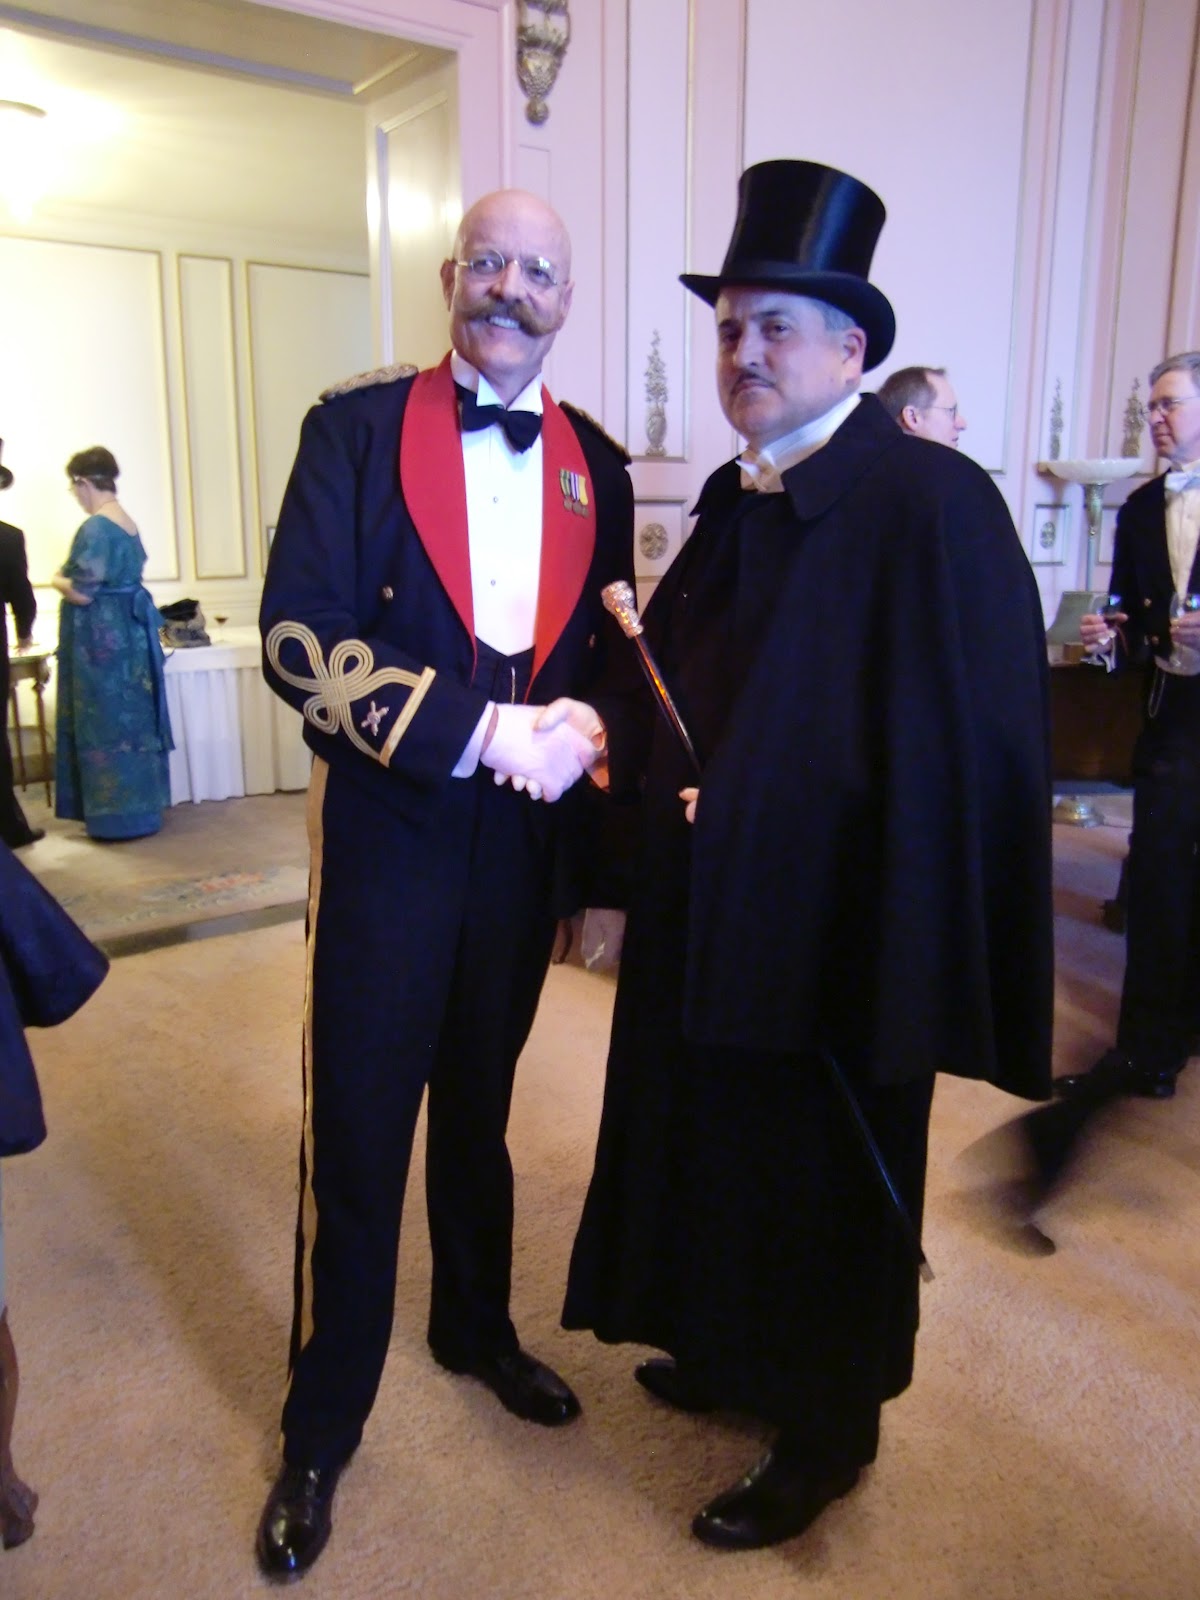
The Guild has again provided and amazing opportunity to live for a few moments in another era.  It was a truly magical evening.  At 9:20 we had a moment of silence and a toast to those who departed on the ill fated voyage.

Below are photos of the completed dress on the form then on me, and a few photos of others. The sepia toned one was by a photographer provided by the event and my wonderful friend John who decided to escort me so I wouldn't have to do the event "doe" (as opposed to "stag"). The project although not quite what I had envisioned was pleasing.  Footnotes are that I need to cut down the top of the corset by at least a half inch in front but for now it will stay.  Before I put the dress away I will also need to clean the train (thank goodness it is poly given how many times it was stepped on) and finish some beading repair that I didn't have time to do. 


Wednesday, April 11, 2012

Test Run of the Dress

GBACG Last Dinner on the Titanic Event...two days away:  I think I say this every time...only a few days before the event and I'm still sewing.  No matter how early I start, no matter how I promise myself that this will never happen again...it does.  I'm annoyed.  I'm also not particularly happy with the project.  The over-skirt is too short, the side opening which was not initially planned needs to be closed up a bit, the lower skirt is too wide and the whole skirt portion of the dress should have been more fitted.  72 hours before the party there is no fixing the big issues.

There has been considerably more hand sewing than I imagined there would be.  The beading repair has also taken me twice as long as expected.  I have a new respect for the poor girls in the sweatshops turning out couture bead work.  I also had gained so much weight this winter that the dress hardly fit.  I have back cleavage, which some corset aficionados find rather sexy....I however, do not.  I've been on a serious diet the last week to see if I can deflate a bit and get back to my pre winter-bear weight.  Here are some photos of the unfinished dress in a test run.  I chopped parts of me off because, frankly it was a bad hair, no makeup day and I just wasn't in the mood for sharing....


Wednesday, February 22, 2012

Dress Construction:

This whole project is a new level of sewing for me.  I am not using a commercial pattern.  Just as I did with the corset I scaled up (and cheated a bit with some of the pattern) a 1911 dress found in Janet Arnold's "Patterns of Fashion II."

There are no detailed instructions regarding construction, but rather a short description of the dress, material, and two sketches, one of the dress and one of a partial inner look.  I've done a lot of reading, both historical readings and other blogs regarding dress construction.  I am focusing on a dress in the early part of the "Teens" rather than the later part.

Here are some tidbits:

Although some dresses are "flowy" looking the gowns have heavily built up understructures.
Boning is used throughout the bodice.
A waist tape was often used.  I flatlined mine with twill (should of used coutil....again) so I didn't use a waist tape.
The skirt is attached to the outside of the bodice rather than under or with a waist seam.
Flannel was used to underline the skirt trains and protect the fashion fabric.  The underlining would peek out a bit around the edge.
The upper bodice is gathered with a ribbon to help shape it.
There is a great deal of hand stitching on these dresses.
Edwardian era dresses require oodles of hooks and eyes....more hand sewing a a total pain in my behind!

So this is the picture from the book:


A picture of the blow up of the bodice pattern, and my working out the muslin:


Gathered bodice top, then the addition of flesh coloured mesh to help stabilize the sleeve and rest of bodice (you can barely see this but note where the pins are floating):


Here is a pic of the under dress shape (black sleeve is just pinned on):


Finally some details: hooks on the lower part of the dress, and the flannel dust under-cover peaking out after being sewn on (all my hand) :
Wednesday, February 1, 2012

So the Dress Has Begun....and the Concept has Changed.

The longer I stared at the beautiful beaded white lace I have the less inspired I was to get started with a Titanic era evening gown.  Don't get me wrong the lace is amazing...but it was just not working to get me going.  I realized two things.  I AM completely enamored with beaded gowns, I'm definitely not going for understated elegance....I like the bling!  The other thing was that I seemed to be collecting jpegs of black and cream gowns.  Here are some of those photos:


 So the next set of dresses are heavily beaded (the ones above are moderately beaded ):

So now what?  Well I went to a local thrift shop (we have a ton of them) and bought a hideous 1980's beaded dress.  It is a 2x with minimal damage.  It is beaded black silk.  The material is a little more dense than I had hoped to find.  I was looking for a lighter chiffon or net (like the white lace) but again the budget seamstress in me couldn't resist the price.  Here is the new garment to be dismantled.


Friday, January 27, 2012

Edwardian Skivvies....naughty naughty naughty....not really....

So what does one wear under an Edwardian dress?  This one piece undie set is made out of cotton and cotton eyelet lace.  It is all machine embroidered but the button holes are hand done as is the crochet lace around the arm holes.  The buttons are tiny little shell buttons.  The bottoms are crotchless so to speak...basically short split bloomers or really more like split tap pants. Three tiny buttons on top then a big gap and one tiny button around the pelvic bone.  Sadly this needs some restoration and there is a hole in the tushy that is too big to be darned.  The material is very frail back there.  It fits snugly but perfectly with the corset.  Need mending at the one shoulder but for underwear that is probably 100 year old it is still in good form.  And yes...this is me in my underwear....Victoria's Secret eat your heart out....lol!
Skivvies with the new corset.

Finally! Done...but not happy....

Well, it's done and I still kick myself for not using coutil....learn from me, spend the time and money and buy coutil....you won't get the nasty little stretch ripple that even the heavy twill I used can produce.  I trimmed it with a sweet cotton insertion lace.  I also found vintage, probably 1930s, pink garter clips.  Of course since nothing is easy they are coming from England.  The shipping was more than it cost me to buy them from Etsy, but then again the whole thing was about the cost of a Starbucks grande latte....you just have to love the internet...makes the whole world one big sewing notion store.


Here are photos of the finished ripply corset...which just will have to do:


Sunday, January 22, 2012

Still Working on the Damn Corset...yah I said "damn".....


For those of you who sew projects like this you know that sometimes bad words just slip out.....I'm just not happy about this, and am still staring at this wondering what the heck to do...no time to make another...I have the dress to make and another huge project that I'm obligated to....so no way is there time....or is there?

Here is a photo of mine and from the fabulously talented seamstress from bridgesonthebody:
 

Her beautiful corset....so perfect.


Earlier the same day (01/22/12)

Well, I'm almost done with my corset and am not too happy with it.  I skimped and hurried and didn't order coutil and am paying for it bc the twill I used just has too much give...serves me right.  The other issue is that I seem to be squishier than I expected to be, and I can get the corset all the way closed without quite getting the look I had hoped for.  Also the stays in front are too long.  I realized too late that I can't sit with the long stays, so they need to be cut down.  Of course I read this at bridgesonthebody blogspot after I had already purchased the longer front stays.

I used two layers of pink twill and a layer of white printed cotton fabric.  The white fabric is a bit sheer and the pink gives a pink glow through the white fabric.  I will have to find garter clips that I like -- sadly the wide vintage looking one are no where to be found (except in black).

I ordered my busk and stays from corsetmaking.com, I've put their link in my favorite, they were awesome, particularly since I think I made them crazy changing my order mid way and then getting my package coast to coast in two days.

Now one link I want to recommend is bridgesonthebody.blogspot.  This amazingly talented seamstress was the motivation for my sewing this corset.  She also organized a sew-along, but I didn't join, having started the project before she started her sew-along.  It is an amazing learning resource.  The pattern I used was hers.

I'm not going to have time to redo this corset, and will have to be happy with it as is.  It does give a nice line but not as tiny a I had hoped, its more the regular me, but like I'm wearing snug jeans.


This was the original pattern.  It was an 8.5 x 11 page.  I enlarged the pattern onto paper then onto muslin.


I left a wide margin to get a fit.


I took the muslin and then transferred it to paper again and was cutting the layers of twill. Should have bought coutil...

The magic  box of goodies from the corset supply house.

Good tools are always essential, this is my Home Depot awl, perfect for installing part of the busk.

This press was a wonderful investment, I could not imagine setting all the 00 grommets by hand with a hammer and tap.


You can see the bumps caused by the stretching.

I will fix the lumpy bits by stitching the fabric flat.


Sunday, December 25, 2011

Titanic Gown -- And Away We Go...

So I wimped out and took the bodice pieces to the blueprint shop and had them scaled up, took just a few minutes for them to do it and saved me HOURS of drafting time.   So I had actual paper pattern pieces then drafted the skirt pieces by myself.  I've discovered that the heavy roll of painters paper makes fantastic pattern paper!  I can't really do much until the corset is done but I can get a general jist of how things are going to go.  Thankfully it appears that the dress will be close to my own dress size--something that seems a bit odd since dresses of the period are usually so much smaller.


I've included a picture of the wedding dress I'm picking apart so  you can see the lace, in a way it already has the silhouette of a period gown.  One shot is a close of up of the netting.  I think I found a the fabric for the underskirt...it is a light green silk taffeta that is shot with a pinkish orange...but I'm still looking.  Part of the colour choice is the price at the discount fabric store.  More photos to follow.

Sunday, December 4, 2011

Corsets Corsets Corsets...


12/04/11
I think I found "the dress" to reproduce (different from my original idea of using a Laughing Moon pattern) , of course it will be different than the picture below, and will be a few years out of fashion for 1912 (the dress will be a 1910 model) but I will need the right undergarments.  A fellow guild member has kindly offered to draft up her pattern in my size and I'm going to give it a go.  I'm so excited.  The corset will have to be done before I really start the dress but I can work on the dress mock up in the mean time.  Here is the dress I want to make, the design will be completely different since I will be using the wedding dress lace but this is the shape:


This dress is from Jane Arnold's book Patterns of Fashion -2.  Not sure what colour I will use, but the lace is a soft white.

Here are examples of the correct long line corset to be worn under this style.  Very different from the Victorian or S-curve of the early Edwardian period:


You can see that some styles have garters to hold up stockings.  Now just for eye candy, I found this dress: