
I have been pretty tardy at getting the details about this dress up. As I am about to embark on a new adventure (reworking a pretty fragile 1920s dress) I thought I would try to get as much up as I could now so I can focus on the next project. I also have bonnet instructions although this bonnet was much too large for the period and I will cut it down to be in better scale in the future.

I started by highly modifying a Truly Victorian polonaise pattern for the top and then draping the skirt out of white cotton poly I had in the stash. The dress was made from two curtain panels I bought for $6 at Goodwill, Ikea clearance center lace curtains, two panels were about $14, and some ebay buttons $6 (nice pierced metal) and some $4 a yard organza (super wide) that I bought from the local thrifty fabric mart. In theory this whole dress is machine washable....in theory...
I started by putting my newly completed corset on my mannequin, I was happy with the corset (see prev post) but it could have been smaller. I can get the center almost closed and the top bust spreads a little more than I would have liked...oh well...it is the learning process. The big thing is that it fits comfortably and I can wear it for long periods of time!
Here are the inspiration pics. I liked the pointy part of the bodice on one and the lace/rushing application on the other. The dress is really a hybrid of lots of fashion plates I looked at as well the limitations the fabric had in terms of amount...this would have looked a bit different if I had had a few more curtain panels.


There was lots of pinning and unpinning to work the curves and to get the point I wanted. I like to use coloured sharpies to mark my mock ups -- but BEWARE, if you have a nice corset underneath do not do this. I have a heavy body double cover I made to go over the corset and I lightly make notes and that keeps the corset underneath "safe."

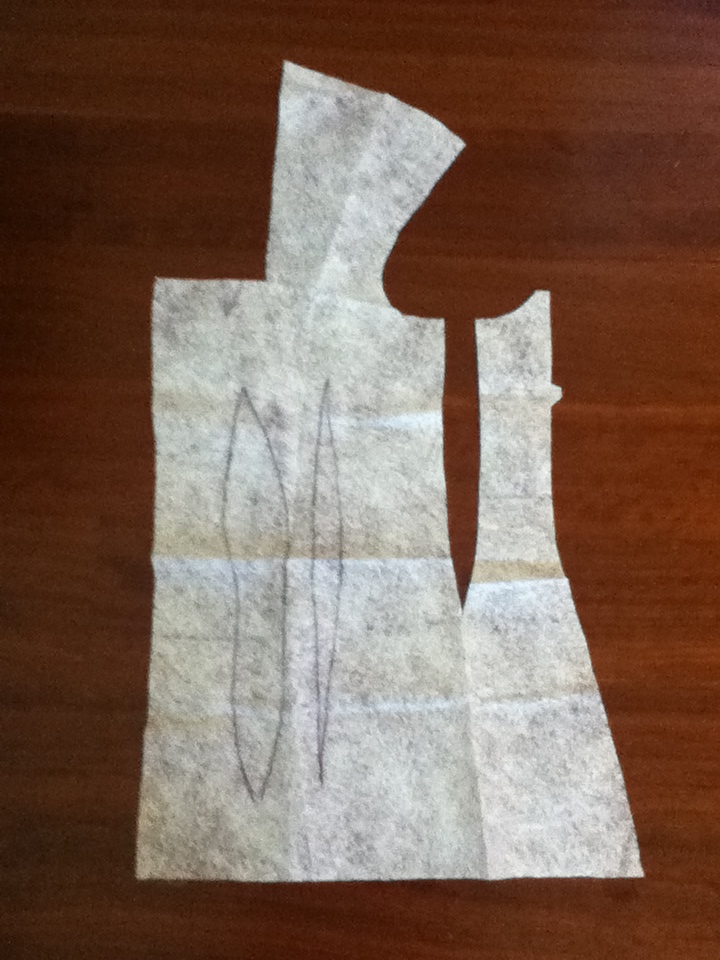
One of the best things I learned from the GBACG Victorian bodice class was to let go of the notion that darts had to be so pretty and symmetrical. I had to separate the side-back from the side-front on the pattern to get the shape I need, above is before I did that.


The trim was a lesson in patience. Even with the ruffler that I purchased, which made ruffling easier but made so much noise, came out of alignment easily and broke most of the sewing needles I had in my stash...it too a long time and yards and yards of material to get the look. I cut endless strips and serged them together and just sewed for what seemed like forever. Lots of thread was used and my family was happy for the quiet moments in-between.


Above you can see the based/pinned top which was an overlay of lace over the solid fabric. Sadly I seem to have lost most of the bodice construction photos. If I find them I will add them to this post in the future. Here is the skirt almost done. Below is the finished skirt.

Now initially I wore the skirt as it is above, however, I realized the silhouette was a little off for what I envisioned. The second time I wore the dress I added ties (similar to that on the petticoat) to the dress and pulled in a little to get this:


I liked the narrow look much better. Enjoy and sorry about the bodice construction photos -- if I ever figure out what happened I'll post them :-)
No comments:
Post a Comment